Using a water level to check your progress is easy. Simply take a water hose hold one end at the start or head of the French Drain level with the top of the French Drain. Place the hose through the completed portion of the French Drain. Then fill the hose with water. When the hose is filled with water, and no water runs out of either end of the hose, the downhill end is dead level with the Head of the French Drain. Now measure down from the water level on the downhill side to get your desired slope.
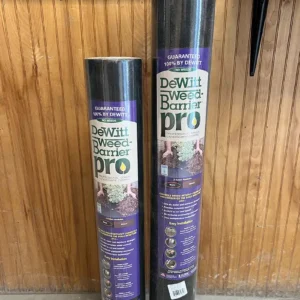
A proper French Drain should be a minimum of 12” wide and 12” deep. Here in Florida, soil tends to be soft and caves easily. We recommend using a good weed cloth, NOT PLASTIC, but a heavy Weed Fabric that allows water to flow through it to line the French Drain. Once the trench is dug, straddle the weed mat across the trench and unroll it the length of the trench. Push the mat down in the center to the bottom of the trench. The Weed Mat will allow water to flow into the French Drain while keeping dirt from mixing in the stone bed.
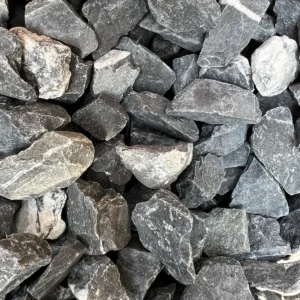
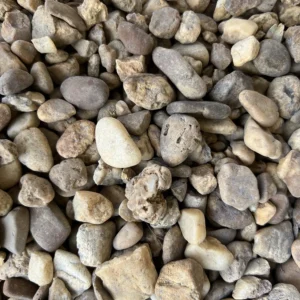
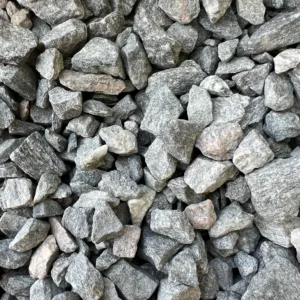
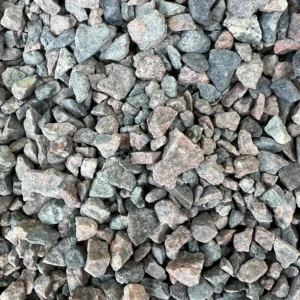
Fill the trench approximately one third of the way with stone. The stone should be no less than ¾” and dense (we suggest Granite, or River Gravel) so it will allow good water flow. Lime Rock, although inexpensive, is a poor choice for a French Drain because it will begin to deteriorate over time and eventually begin to pack down and restrict flow.
Next install a 4” flexible perforated pipe which should be centered in the trench. The pipe will disperse the water pressure and allow the water to trickle into the drain gradually. If you intend to connect your roof gutter down spout directly to the 4 “ perforated pipe, we also recommend installing gutter screens to prevent leaves and derbies from collecting inside the French Drains perforated pipe.
Finish filling the trench with stone. So, at this point using our example of a 12” French Drain, you should have 4” of Stone, then a 4” Flexible Perforated Pipe centered in the French Drain, followed by another 4 inches of Stone on top of the pipe, with Weed Mat completely surrounding the Stone. Then cover the Weed Mat with gravel, either the same stone used or another more ornamental stone of choice.
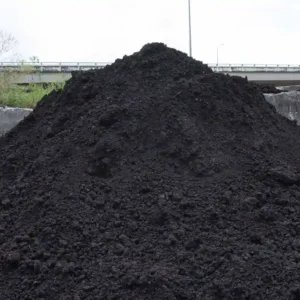
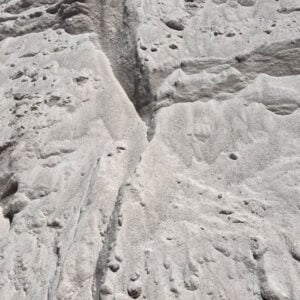
If you plan on putting sod over your French Drain. Once the drain is finished place a 2” layer of Stone on top of the French Drain. Then add another layer of Weed Mat across the French Drain then add a 2” Layer of Diamond Sand followed by Weed Mat and at least 4” of Top Soil.
It is not absolutely necessary to use perforated pipe to create a French Drain. However keep in mind if you remove the Perforated Pipe the water flow will be slower through the French Drain. If you do not use a Perforated Pipe consider increasing the size of the stone to 1 1/2”.